Hiring a professional snagging inspector can cost anywhere from £300 up to £900+, and while they're thorough, plenty of homeowners choose to snag their property themselves. Done properly, a DIY snagging inspection can be just as effective. The key is knowing what to look for, how to look for it, and how to document what you find.
This guide walks you through the entire process from start to finish.
DIY snagging: pros and cons
- Saves £300–£900+ in inspector fees
- You know your own home and priorities
- Can snag repeatedly over time
- No scheduling or access coordination needed
- May miss technical or structural issues
- No professional report or credibility
- Easy to overlook less obvious defects
- Emotional bias (harder to be objective about your own home)
What you'll need
 SnagNote — free on iPhone
When to do your snagging inspection
Ideally, snag your property before you move furniture in, as an empty property is much easier to inspect. If that's not possible, try to do a thorough inspection in the first few weeks, room by room.
Set aside a full day. Rushing through a snagging inspection means missing things. Work systematically through each room before moving on. Don't let yourself get distracted by another area before you've finished the current one.
How to inspect each room
For every room, follow this order:
- On the ceiling, look for cracks, staining, tape joints showing through paint, and uneven plasterwork
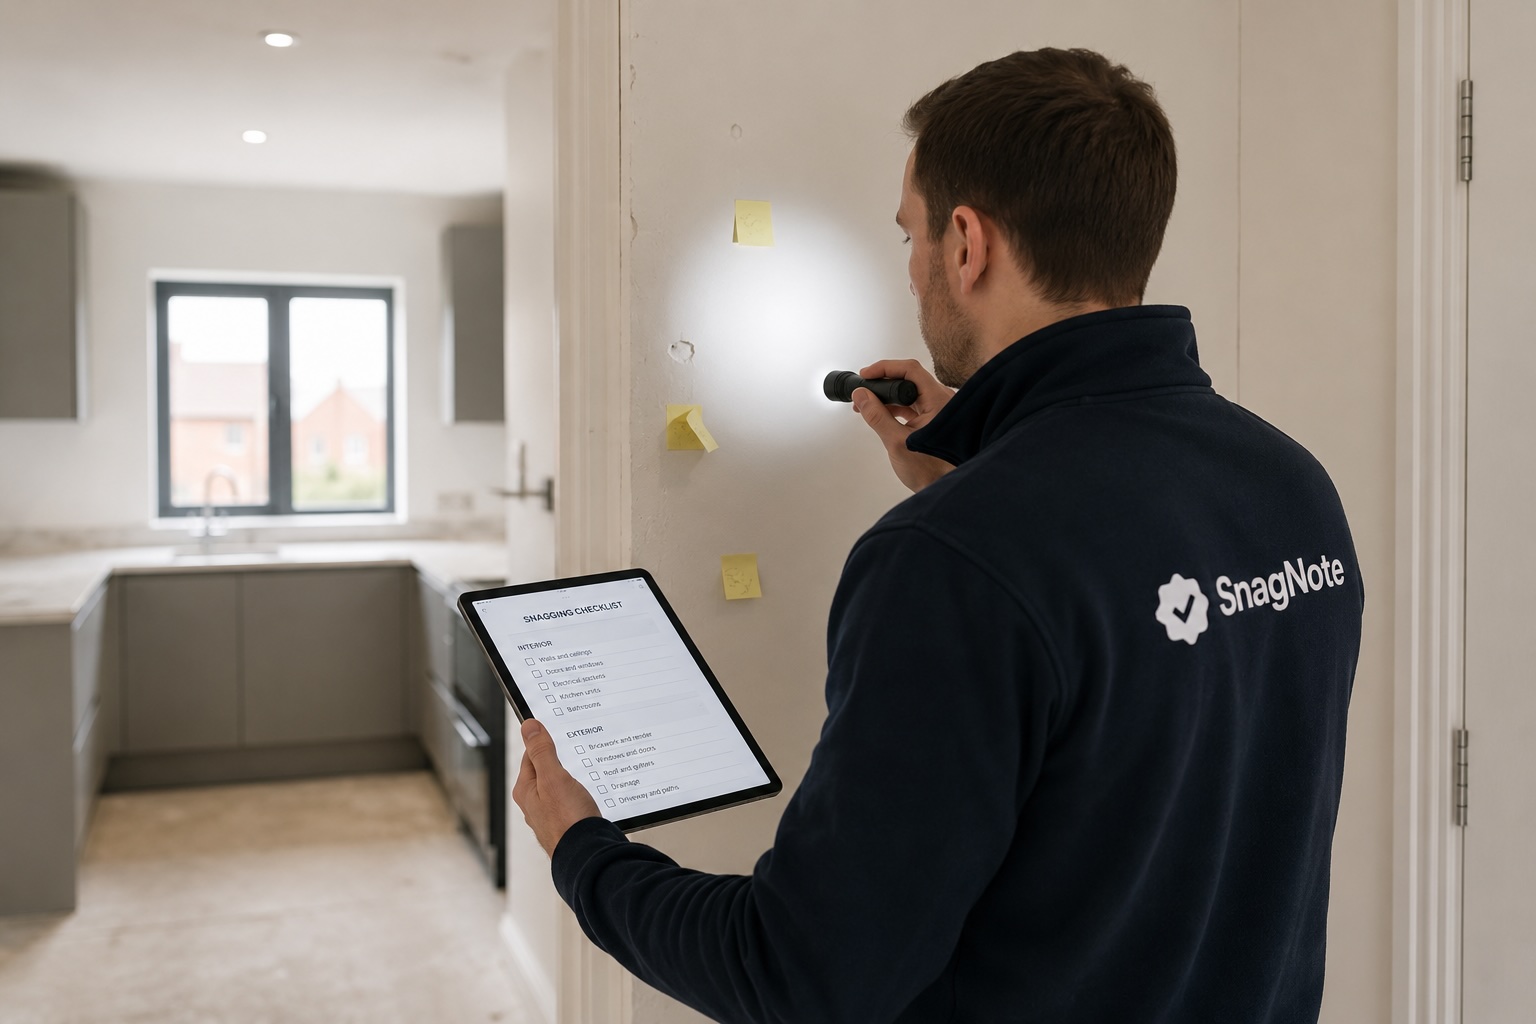
- On the walls, use a torch at a raking angle to reveal ripples, hollows, and poor paint coverage
- On the floor, walk every inch, feel for springy boards, listen for creaks, and check grout lines and tile lippage
- Open, close, and lock every window, and check the seals and trickle vents
- Open, close, and latch every door, checking the gap is even all the way around the frame
- Test all sockets by plugging in a charger, and flick every light switch
- Check all joinery including skirting, architrave, and coving for gaps, poor mitres, and unpainted sections
The best time to spot plasterwork defects is in bright daylight. Open all blinds and curtains, then use a torch held flat against the wall at a low angle. Imperfections invisible in normal lighting become very obvious with raking light.

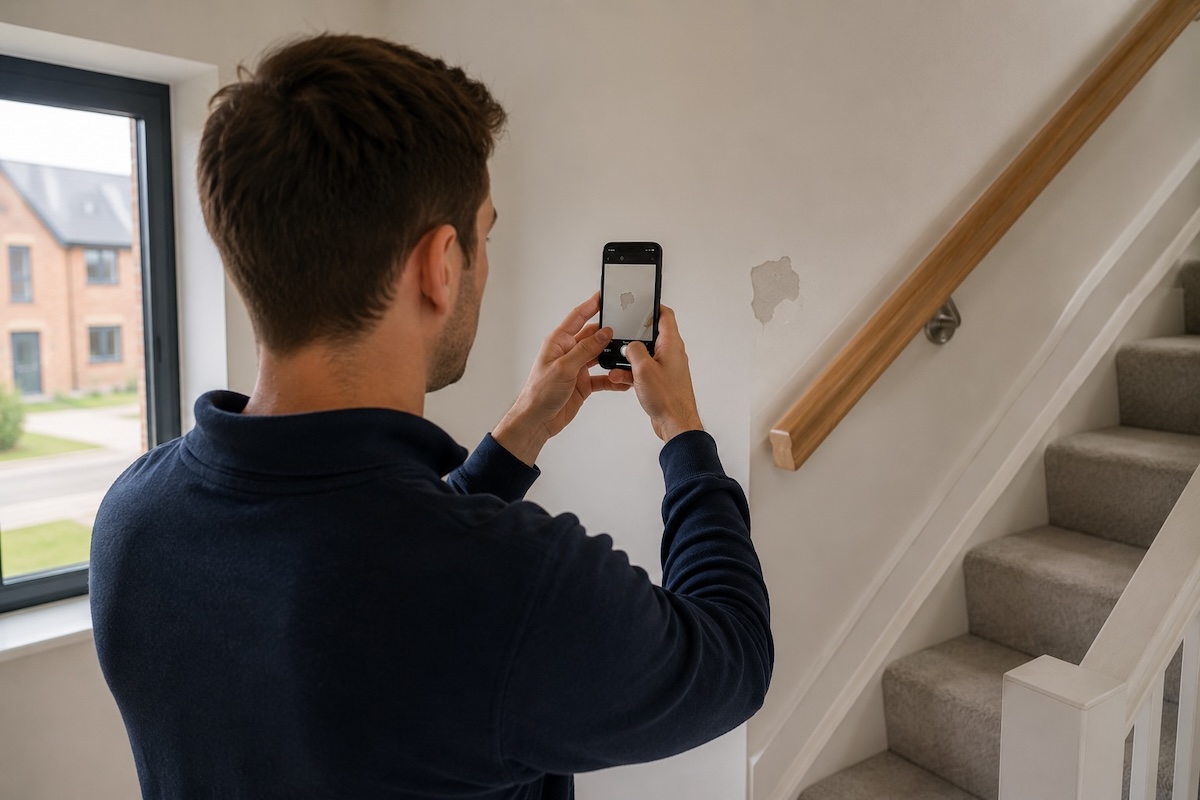
Open SnagNote before you start each room. As you work through each area, log defects directly in the app - photo, location, and notes in one tap. By the time you've finished the house, your entire snag list is already compiled and ready to send.
Wet rooms and kitchens
Bathrooms, en suites, and kitchens need extra attention as they're the most likely areas to develop damp or moisture issues and the most expensive to fix later.
- Run every tap and shower: check pressure, temperature, and drainage speed
- Flush every toilet and watch the cistern refill fully
- Check silicone sealing around baths, sinks, shower trays, and worktops
- Inspect grout for cracks, gaps, or missing sections
- Open every kitchen cabinet and drawer: check alignment and smooth operation
- Turn on all appliances and check they function correctly
- Check extractor fans are working and ducted externally
How to document defects properly
Finding a defect is only useful if you record it well enough to report it and have it fixed. SnagNote makes this straightforward, each defect gets its own entry with photo, room, and description all in one place. Working from paper or another method, make sure you capture:
- Photo: close enough that the defect is clearly visible
- Location: room name and specific wall or area (e.g. Master bedroom, north wall, top left corner)
- Description: what the defect is, how significant it looks, and any relevant measurements
Reporting your snag list
Once you've completed your inspection, compile all your defects into a single document and send it to your developer by email. If you've been using SnagNote, you can generate a formatted PDF report directly from the app with photos, locations, and descriptions already organised and ready to send. Include a request for written acknowledgement and a timeframe for remediation.
Keep a copy of everything you send and log any responses you receive. This paper trail is essential if any disputes arise later.
Final thoughts
DIY snagging is absolutely achievable. Thousands of homeowners do it every year and successfully get dozens of defects remedied. The key is being methodical, patient, and thorough. Don't rely on memory, use SnagNote to photograph and log defects as you go, so nothing gets missed and your report is ready the moment you're done.
For a more detailed list of exactly what to check in each area, see our guide to Top 50 New Build Defects Found in UK Homes.
Log every defect room by room, add photos, descriptions, and notes in one tap. Then generate a professional report and send it straight to your developer.